Quick Fixes: How to Stop Your Running Toilet
DIY PLUMBING FIXESFAQSRESIDENTIAL PLUMBINGCOST-SAVING PLUMBING TIPS
8/6/20255 min read
You know that moment when your house is quiet—finally—and then… pssssssshhhhhh. Not a horror movie. Just your toilet. Again. Running. Forever.
It’s like it’s training for a marathon in there. Only instead of racking up medals, it’s draining your water bill, your patience, and your will to live—one ghost flush at a time.
So if your toilet’s decided to become the white noise machine no one asked for, we’re going to show you exactly how to shut it up—for good. No plumbing license required. No random TikTok tricks. Just real, tested fixes that actually work.
Let’s lift the lid and get to it. Literally.
💧Step 1: Get to Know the Toilet Tank Jungle
First, pop the lid off the back of the toilet. Set it carefully aside—porcelain on porcelain collisions are not your friend. Inside, you’ll see a little plumbing universe:
Float (Ball or Cup) – This little doohickey rises and falls with the water level. Think of it as the toilet's internal water DJ, telling the valve when to shut the party down.
Fill Valve – Refills the tank after every flush. Like the bartender of the bowl.
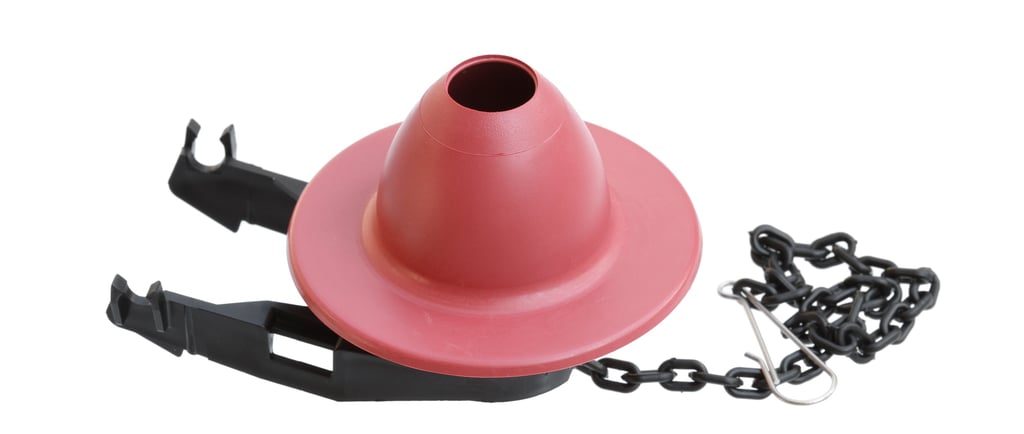
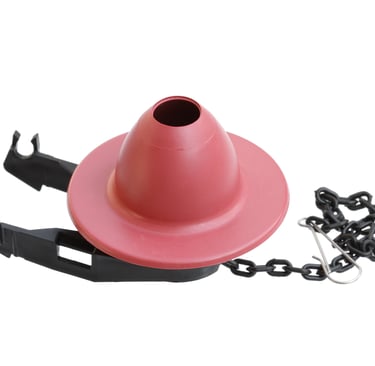
Flapper – A rubbery gatekeeper at the bottom of the tank. Opens to let water rush into the bowl, then closes to stop the flow.
Chain – Connects the flapper to the flush handle. If it’s too tight or too loose, chaos ensues.
Now that you’ve met the cast, let’s figure out who’s causing the drama.
🔍 Step 2: Diagnosis Time—What’s Actually Wrong?
Running toilets usually boil down to three possible culprits. Here’s how to spot them:
1. The Flapper’s Not Sealing Properly
That rubber flap at the bottom of the tank? If it’s warped, crusty, or just plain tired, it won’t seal properly. Water leaks out slowly, so the tank never fully fills—and the fill valve keeps running to catch up.
👀 Check this: Push down on the flapper with a stick or gloved finger. If the sound stops, that’s your problem.
2. The Chain Is Tangled or Too Tight
If the chain is too short, the flapper can’t close all the way. If it’s too long, it can get caught under the flapper like a trip hazard in a horror movie.
👀 Check this: Watch the flush. Is the chain yanking on the flapper too hard—or not letting it drop fully? Bingo.
3. The Float’s Set Too High
If the float is too ambitious, it’ll let the tank overfill. The extra water escapes down the overflow tube, causing a constant refill loop. Hello, running toilet.
👀 Check this: Is water dribbling into the overflow tube even when no one’s flushed in hours? Your float’s doing too much.
🛠️ Step 3: Fix That Flapper (It’s Easier Than You Think)
If your flapper’s leaky, it’s probably
Dirty and not sealing, or
Old and brittle and needs to retire.
Try This First
Turn off the water supply (the valve behind the toilet). Flush to empty the tank. Then clean the flapper and the seat it rests on with an old toothbrush. Mineral deposits and slime (ew) can stop it from sealing.
Still leaking?
Replace the Flapper
Buy a Universal Flapper – They’re cheap and available everywhere from Lowe’s to your corner Ace.
Unhook the Old One – It’s just clipped to the pegs on the overflow tube. No tools.
Clip On the New One – Make sure it lines up and rests snugly. If it looks like it’s hovering? Try again.
Turn the Water Back On and give it a test flush.
🎉 You just completed a plumbing repair. Without crying.
⛓️ Step 4: Chain Reaction—Literally
If the chain’s the issue, the fix is so easy it feels fake:
Too tight? Move the clip one or two links down.
Too loose? Move the clip up to take up slack.
Tangling? Cut the excess. Seriously, scissors.
Pro tip: You want just a little slack when the flapper’s closed—enough so it seals completely, but not so much it takes a full bicep curl to flush.
🌊 Step 5: Float Adjustments—Bring the Water Level Down to Earth
Depending on your toilet, your cup could be one of two types:
A ball on an arm (old school)
A cup that rides up the fill valve shaft (newer)
For ball floats: Gently bend the metal arm downward to lower the water level.
For cup floats: There’s a little plastic screw on top—turn it clockwise to lower the float height.
You want the water level about 1 inch below the top of the overflow tube. Not too high. Not too low. Just like your favorite Lime scooter ride through downtown—smooth and drama-free.
🧼 Bonus Fix: Clean the Fill Valve (If It’s Acting Up)
If you’ve adjusted everything and the tank still sounds like a waterfall at midnight, the fill valve might be jammed with debris. Minerals in Utah water are no joke.
Quick Clean
Turn off the water supply.
Remove the cap from the top of the fill valve (usually just twists off).
Hold a cup or towel over the top and briefly turn the water back on. It’ll blast out any gunk.
Turn it off, reassemble, and test.
It's like a sinus rinse, but for your plumbing.
🧠 Heads-Up: When to Replace the Whole Fill Valve
If your fill valve’s older than your Netflix password or making a wheezing banshee noise when it fills, just replace it. They cost around $15–$20 and come with simple instructions.
Install time? 10 minutes.
Impact? Massive.
Peace of mind? Off the charts.
💸 How Much Water Is This Really Wasting?
Let’s get real. A running toilet can waste up to 200 gallons a day. That’s like refilling a standard bathtub four times—every day—just to swirl down the drain.
In Utah, where droughts are more consistent than Pioneer Day fireworks, that’s not just wasteful. It’s painful.
Plus, if your water bill suddenly looks like a car payment, your running toilet might be the villain.
📍 Salt Lake Shout-Out: Check for Rebates
If you're in Salt Lake City or nearby cities along the Wasatch Front, check with your local utility or city website. Some areas actually offer rebates or credits for new water-saving fixtures. A new toilet might not just save water—it could also put a few bucks back in your pocket.
🎯 Final Flush: You’ve Got This
The great news? Most running toilet issues are
Totally DIY-able
Dirt cheap to fix
Solvable in under 30 minutes
No need to call a plumber unless the problem goes full exorcism and your toilet starts flushing itself every ten minutes with the handle untouched (yep, that's a thing).
So next time your toilet decides to practice its indoor fountain routine, channel your inner plumbing hero. Pop the lid, diagnose the issue, and fix it before the next flush.
Because let’s face it: You’ve already fixed IKEA furniture and navigated I-15 during rush hour. Compared to that? This is nothing.
🚽💪 You vs. the Running Toilet? You win. Every time.
Contact
Main Office
Social
3560 S 2200 W
West Valley City, UT 84119
P.O. Box 25123
Salt Lake City, UT 84125
Monday – Friday:
7:00 am – 3:30 pm
Billing & Mailing Address
Hours
© Budd M. Rich Plumbing Company, DBA BRPI Mechanical. All rights reserved.